Send an Email in Case IQ
You can send emails using the New Email form in Case IQ and the system will store the email and any subsequent replies in the case record. You can access the New Email form in any of the following ways: (1) the Add Email button on the Emails Grid page, (2) the “+ Add  ” button button on a case’s page, or (3) the Add Email button on a case’s page, under the Activity tab and Emails sub-tab.

After loading the New Email form, you can fill in the relevant fields. See a description of each New Email field below:
- Case field: if you click the Add Email button or “+ Add ” button on a case page, the “Case” field will be automatically populated when the New Email form is loaded. However, if you access the New Email form from the Emails Grid page, the “Case” field will need to be manually filled in.
- Send To: enter the recipient of the email. You may use a Case IQ user email or any other email address as the recipient. As you type, Case IQ will generate a dropdown list of user suggestions. You can click one of these suggestions to enter it into the “Send To” field. If you are not sending to a Case IQ user, type in the email address manually and hit Enter or Return on your keyboard.
- If you would like to copy someone on the email, click Add Cc under the “Send To” field to display the "Cc" field.
- Subject Line: type in the text that the system should use for the email subject.
- High priority: check the box and Case IQ will send the email with high priority based on the recipient's email client.
- Standard Response: you can select a “Standard Response” dropdown option to populate the body text of the New Email form with a template.
- Body: type in the main text of your email and use the text formatting options as needed. You can enter a maximum of 10,000 text characters.
- Add Signature button: if you have an email signature set up in Case IQ, click the Add Signature button to append your email signature text to the end of the “Body” (see Change Account Settings on Profile Page: Signature).
At the bottom of the page, you will have the option to add any relevant files, which will be attached to the email when sent (read Add a File for details).
When you have completed composing your email, click the Send button at the top of the page and Case IQ will send the email to all recipients listed in the “Send To” and "Cc" fields. Click Cancel to discard your email draft.
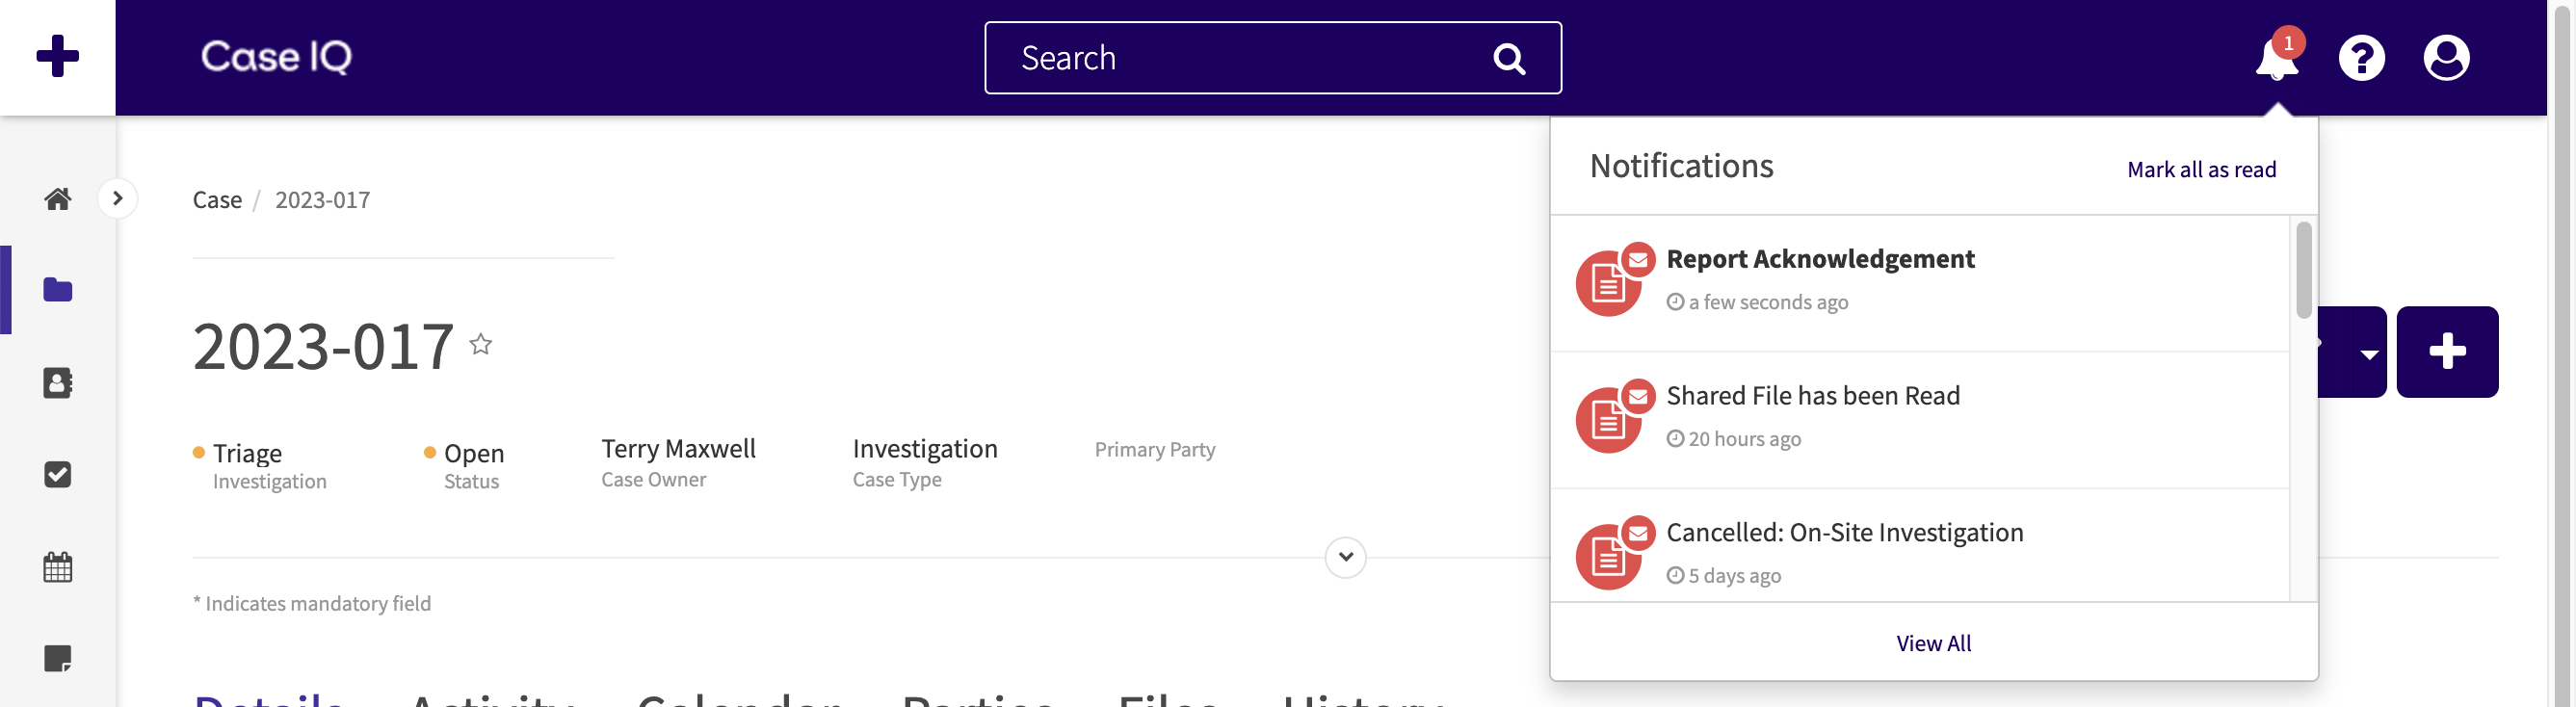
If the recipient is a Case IQ user, they may receive a notification depending on their notification settings. See an example of an in-application notification below. If the recipient replies, you can read their response on the Email Thread page.
Link an Email to Another Record
When adding an email, you can link it with another record, such as a party, note, or file, for the same case to show a connection. For example, you could link an email to one of the case's to-dos to show that the task resulted from an email conversation. You can link an email on the New Email form using the following steps:
- Click the Link (
 ) button on the New Email form.
 - In the "View all linked records" pop-up, click the Link Records button.
- Select a "Record link type" for the link. The link type indicates how these records are related to each other.
- Administrators can configure the available record link types in Settings, see Add, Edit, and Delete Record Link Types for details.
- Select one or more records to which you want to link to the email. You can link up to 50 records with the email at once.
- When you have finished choosing the record link type and records, click the Link Records button.
- The links will be created after you save the New Email form. When the links are available, they will be displayed on the email's page, the other record's page, and the case's page under the Links tab. You can now close the "View all linked records" pop-up and continue filling in the New Email form.
You can add and edit more links after sending the email. Refer to Link a Case's Records for details on editing and deleting record links.
FAQ
How many files can I attach to an email?
For each email, you can attach up to 5 files, with a combined file size of 20 MB or less. This means that, if you attach multiple files, the total file size must be under 20 MB.
Can I delete emails in Case IQ?
You cannot delete email records in Case IQ for data integrity purposes.
Can I restrict or limit who can send emails to Case IQ?
System administrators can set up external email restrictions with email rules. You can set up an "incoming email filter" rule to limit who can send emails to your Case IQ application. See full instructions in the Add an Email Rule and Review Unassigned Incoming Mail article.