Drag and Drop Files to a Case
|
Multi-File Upload available as of Case IQ v9.17 Reach out to your Customer Success Manager or Account Executive to learn about upgrading your application. For versions prior to v9.17, see Manually Upload a File instead. |
You can quickly attach supporting files for your case investigation, like text documents, images, spreadsheets, and videos, from your device to a case. See the types of files you can upload in Supported File Types.
On your desktop, you can drag and drop files on a case's page:
- Navigate to the case's page to which you want to upload files.
- On your desktop, select the files you want to upload.
- Drag the files from your desktop and drop them on the case's page. You can upload up to 20 files at a time.
- If you select more than the limit, reselect the first 20 files you want to upload and drop them in the Add Files to Case pop-up.
- The "Add Files to Case" pop-up will be displayed. You can drag and drop more files on this pop-up to upload more files (up to 20 files in total). Click the Next button when you are done adding files.
- In the next step, fill in all required fields and other necessary information. For example, you can enter a description of all the files in the "Summary" field or add tags to categorize the files. You may see additional fields in this pop-up, depending on the configuration of your application. Click the Upload button to proceed.
- If you do not see an existing tag that describes the file and you have permissions to add tags, you can type in a tag name and hit Enter on your keyboard to add it to your application.
- If you see an "Enable for AI" checkbox in this step, see the next section, Grant AI Access to a File, for details.
- Case IQ will begin uploading the files to the case. You can see the file upload progress window at the bottom of the page.
- You can maximize and minimize this window by clicking the arrow in the header.
- To cancel uploading a file, hover your cursor over the file in the upload progress window and click the "X" button beside the file. The file will no longer be uploaded to the case and will be removed from the queue.
Grant AI Access to a File
|
Clairia and Copilot Fields Premium Feature Reach out to your Customer Success Manager or Account Executive to learn more about this feature. |
Case IQ's AI, including Clairia and copilot fields, can reference files uploaded to a case to generate meaningful and relevant responses. The AI will only use files to which you have granted it access. See Start, Rename, or Delete a Chat with Clairia and Generate Content for a Case Using AI for details on using Clairia and copilot fields.
To allow Clairia and copilot fields to use files, check the "Enable for AI" checkbox in the Add Files to Case pop-up. The system will begin processing the files after uploading them so the AI can use them. You will see a confirmation banner on the file's pages when processing is complete.

Uploading Files from a Mobile Device
To add files to a case from your mobile device:
- Navigate to the case's page to which you want to upload files.
- Tap the “+ Add
 ” button on a case’s page.
 - In the “+ Add ” button menu, tap “Upload files”.
- In the Add Files to Case pop-up, tap Upload a File from your Computer.
- Select the files to upload on your device. You can upload up to 20 files at a time. Tap the Next button when you are done adding files.
- In the next step, fill in all required fields and other necessary information. For example, you can enter a description of all the files in the "Summary" field or add tags to categorize the files. You may see additional fields in this pop-up, depending on the configuration of your application. Tap the Upload button to proceed.
- If you do not see an existing tag that describes the file and you have permissions to add tags, you can type in a tag name and tap the Add new tag dropdown to add it to your application.
- If you see an "Enable for AI" checkbox in this step, see the Grant AI Access to a File section of this article for details.
- Case IQ will begin uploading the files to the case. You can see the file upload progress window at the bottom of the page.
- You can maximize and minimize this window by tapping the arrow in the header.
- To cancel uploading a file, tap the circle icon beside the file in the upload progress window, then tap the Cancel Upload button. The file will no longer be uploaded to the case and will be removed from the queue.
Delete
Content Searchable Files
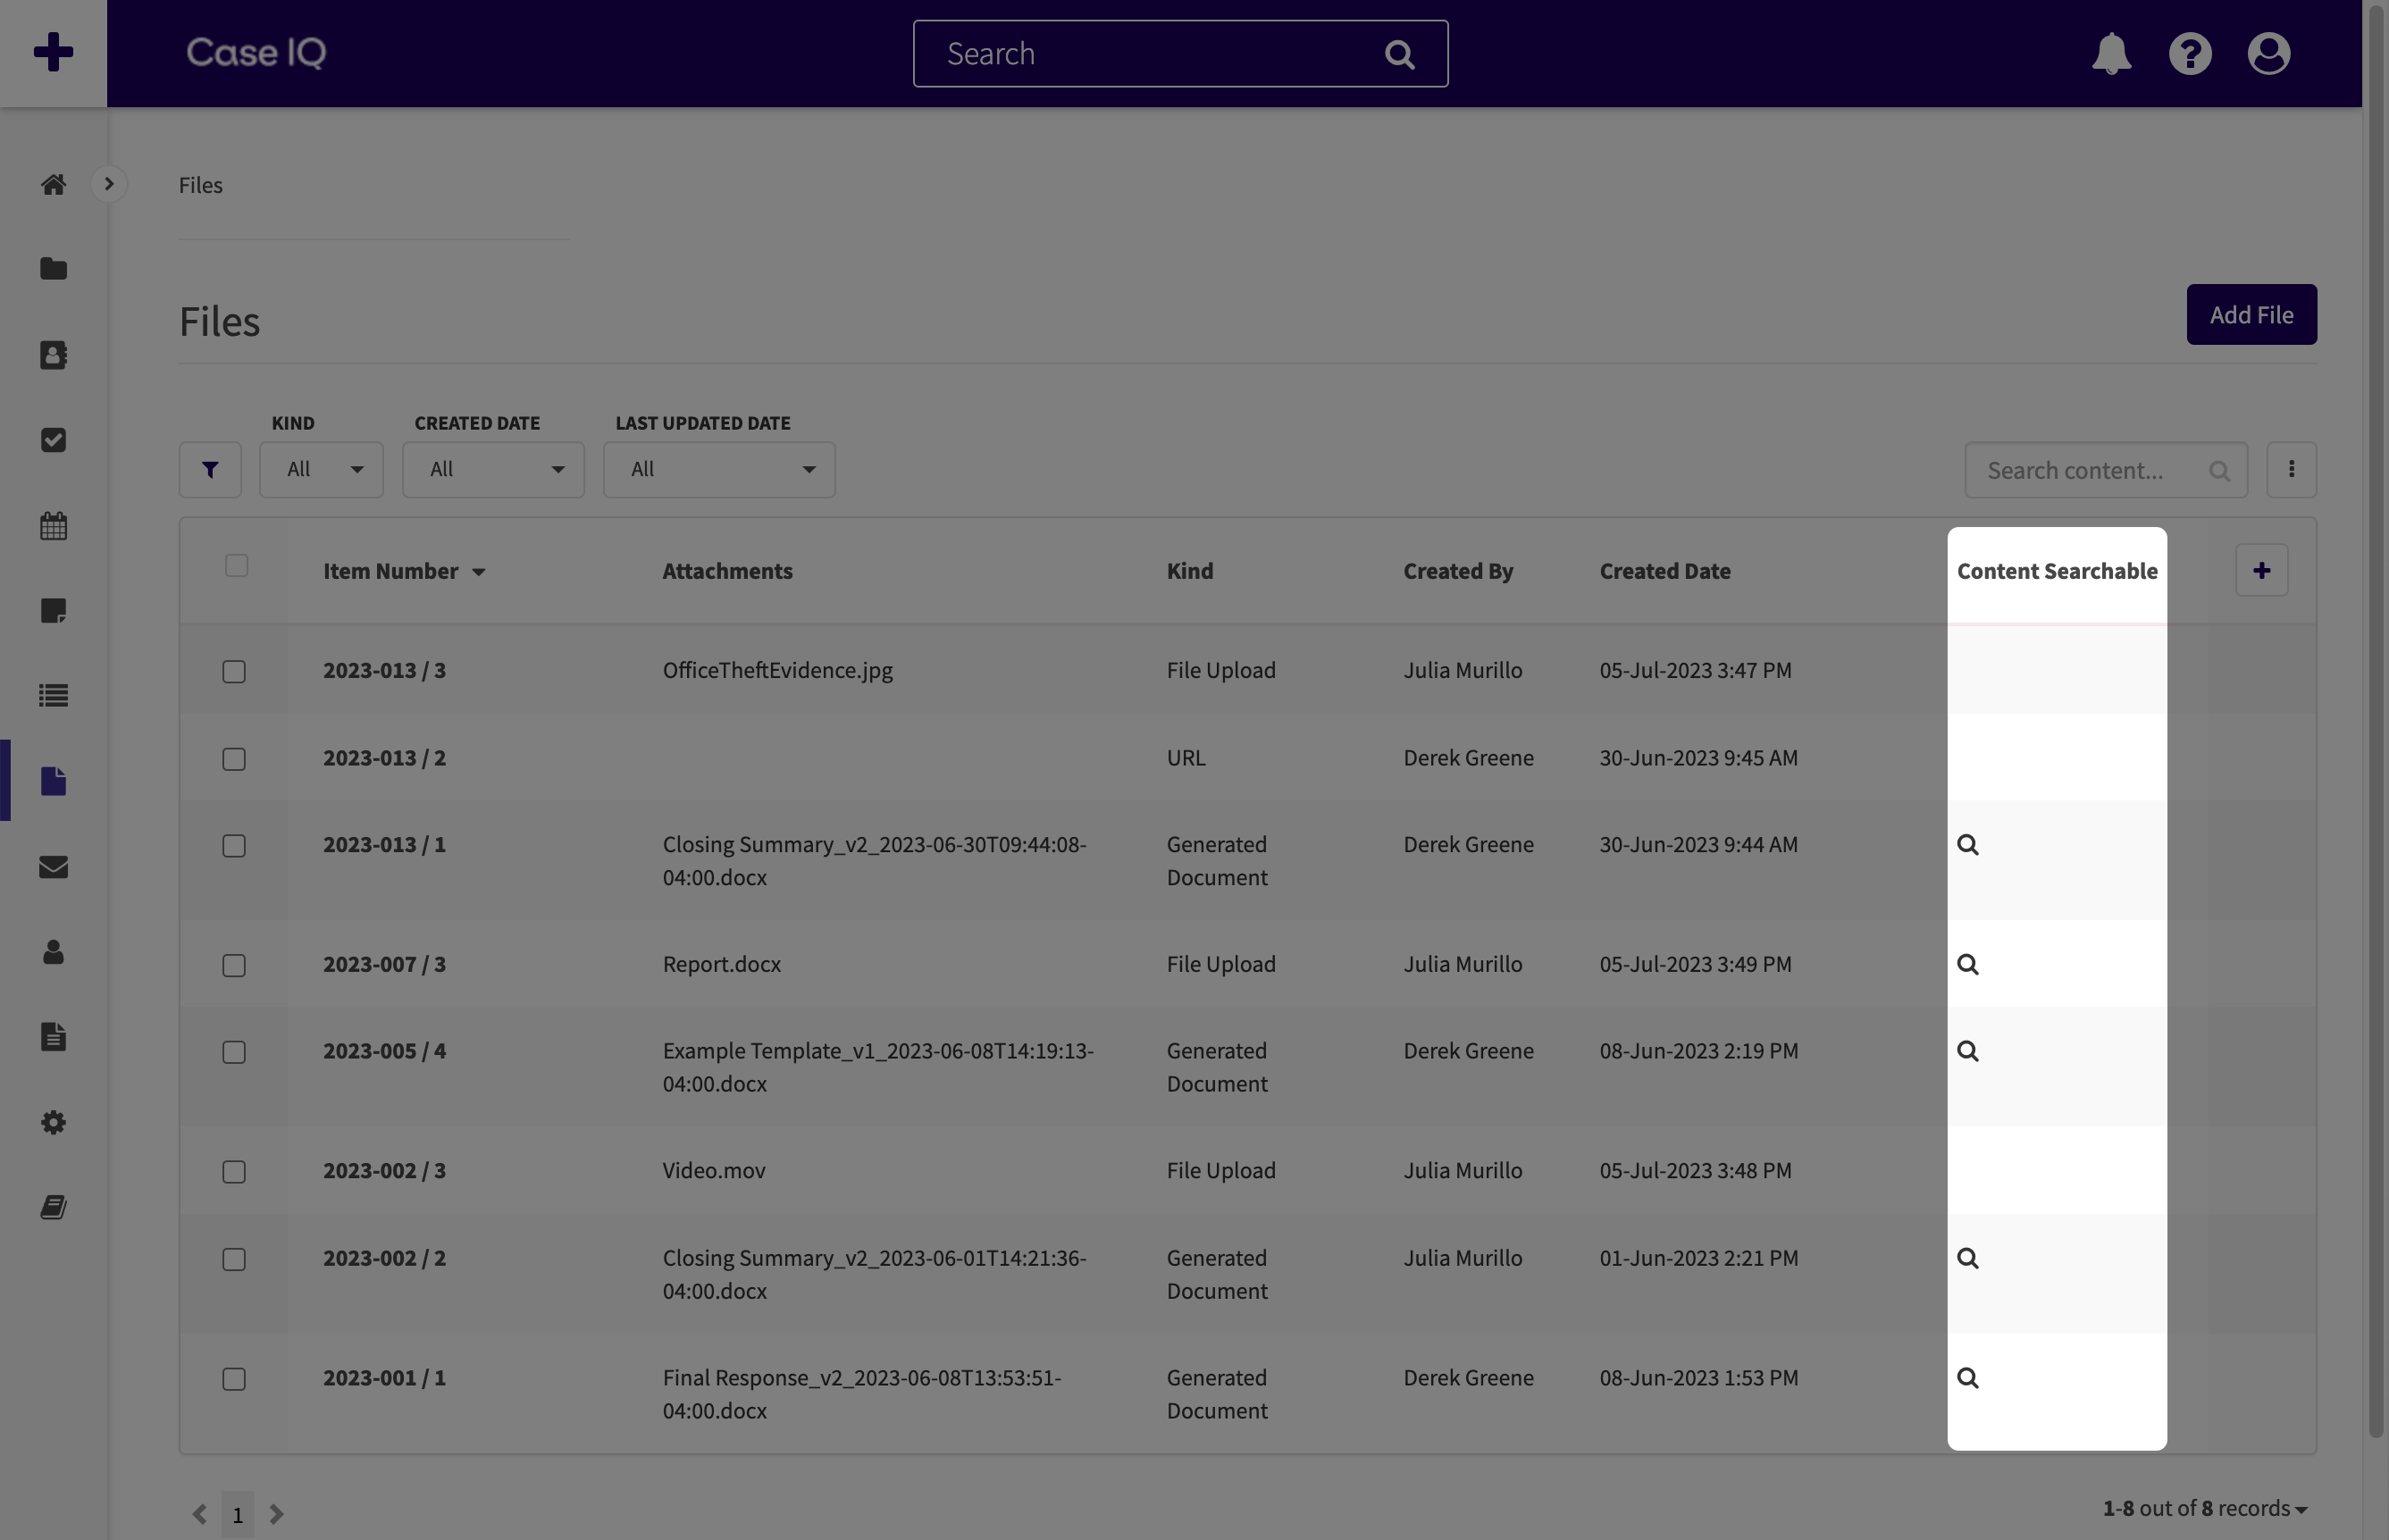
Case IQ can search for text in some files when you run a quick or advanced search (see Search in Case IQ for details on quick and advanced searches). Any text files (.docx, .pdf, or .txt) under 15 MB can be pulled in search results.
You can check if Case IQ can search through a file in the "Content Searchable" column on the Files grid. You will see a magnifying glass icon ( ) in the file's row if it is content searchable. If you do not see the "Content Searchable" column in your application, you can add it to your view from the grid's Column Menu (
 ) (see Configure a Grid: Add or Remove a Column for more).
FAQ
Can I add files to a closed case?
Yes, you can add files to closed cases (i.e. cases where all their workflows are closed).
Can I upload multiple files at once when creating a case?
You can only drag and drop multiple files after submitting a case, meaning you cannot upload files in bulk on the New Case form.
What file formats can I upload?
See the types of files you can upload in Supported File Types.
How many files can I upload to a case?
You can add a maximum of 1000 files to a case in your application and upload 20 files at a time.
From the external portal, reporters can add up to 50 files when submitting or reviewing their case.
What is the maximum file size I can upload?
The maximum file size you can upload to a file record is 50 MB.
How many files can I download at once?
You can download up to 20 files at once from the Files Grid page.
Case IQ could not upload a file. How can I resolve?
If Case IQ could not attach a file you uploaded:
- Make sure the file is a supported file type. See a list of all file types you can upload to Case IQ in Supported File Types.
- Remove any access permissions in your file. Case IQ will not be able to upload restricted or protected files.
- Check how many files have been attached to the case. You can upload a maximum of 1000 files to a case.